The Hard Rocks: Difference between revisions
m →Part 2 |
Replaced maps |
||
| Line 12: | Line 12: | ||
This part is known to be the only one with two exit signs, along with the first part of [[Space Mama's Crater]]. Heading to the second one will also lead [[Rayman]] to a bonus [[life]] guarded by [[stake]]s. | This part is known to be the only one with two exit signs, along with the first part of [[Space Mama's Crater]]. Heading to the second one will also lead [[Rayman]] to a bonus [[life]] guarded by [[stake]]s. | ||
< | <gallery widths="800px" heights="224px"> | ||
RaymanPC - Mountain 03.png|PC version | |||
RaymanPS1US - Mountain 03.png|PlayStation version | |||
</gallery> | |||
==Part 2== | ==Part 2== | ||
| Line 23: | Line 22: | ||
At two moments, [[Rayman]] must hurry because an invisible force kills him if he isn't as quick as the screen. This is the second and final part of the game where a force that is invisible attempts to kill Rayman, the first being the second part of [[Gong Heights]]. | At two moments, [[Rayman]] must hurry because an invisible force kills him if he isn't as quick as the screen. This is the second and final part of the game where a force that is invisible attempts to kill Rayman, the first being the second part of [[Gong Heights]]. | ||
<gallery widths="800px" heights="125px"> | |||
RaymanPC - Mountain 04.png|PC version | |||
RaymanPS1US - Mountain 04.png|PlayStation version | |||
</gallery> | |||
==Part 3== | ==Part 3== | ||
[[image:DeuxHommesPierre.png| | [[image:DeuxHommesPierre.png|right|thumb|316px|class=sprite|[[Rayman]] caught between two [[stone man|stone men]]]] | ||
Although filled with traps causing difficulty to be high, this part contains a lot of hidden bonus [[life|lives]]. | Although filled with traps causing difficulty to be high, this part contains a lot of hidden bonus [[life|lives]]. | ||
<gallery widths="123px" heights="240px"> | |||
RaymanPC - Mountain 05.png|PC version | |||
RaymanPS1US - Mountain 05.png|PlayStation version | |||
</gallery> | |||
==External links== | ==External links== | ||
Revision as of 14:04, 17 July 2020
| The Hard Rocks | ||
|---|---|---|
 | ||
| ← Twilight Gulch | Mr Stone's Peaks → | |
The Hard Rocks (French: Le Chaos du Cauchemar – The Chaos of Nightmare) is the second level of the Blue Mountains, the third world of the original Rayman game. It always consists of three parts. This level is most known for its sudden traps, mainly linked to gendoors.
Part 1
This part is known to be the only one with two exit signs, along with the first part of Space Mama's Crater. Heading to the second one will also lead Rayman to a bonus life guarded by stakes.
-
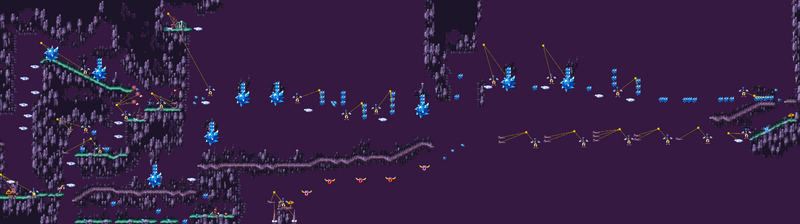 PC version
 -
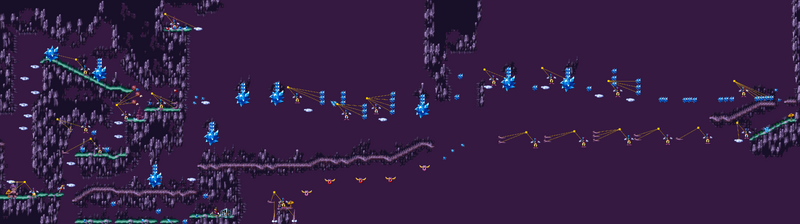 PlayStation version


Part 2

At two moments, Rayman must hurry because an invisible force kills him if he isn't as quick as the screen. This is the second and final part of the game where a force that is invisible attempts to kill Rayman, the first being the second part of Gong Heights.
-
 PC version
 -
 PlayStation version


Part 3

Although filled with traps causing difficulty to be high, this part contains a lot of hidden bonus lives.
-
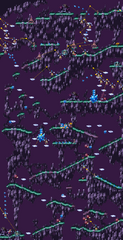 PC version
 -
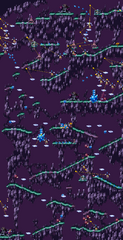 PlayStation version


External links
Atari Jaguar
Sony PlayStation
PC/MS-DOS
Game Boy Advance