Bongo Hills: Difference between revisions
No edit summary |
Replaced maps |
||
| Line 8: | Line 8: | ||
'''Bongo Hills''' (French: '''''La Butte aux Bongos''''' – '''''The Butte of Bongos''''') is the first level of [[Band Land]], the second world of [[Rayman 1|the original ''Rayman'' game]]. It is one of the longest levels in the game, containing six parts. | '''Bongo Hills''' (French: '''''La Butte aux Bongos''''' – '''''The Butte of Bongos''''') is the first level of [[Band Land]], the second world of [[Rayman 1|the original ''Rayman'' game]]. It is one of the longest levels in the game, containing six parts. | ||
__NOTOC__ | __NOTOC__ | ||
{{clear}} | |||
==Part 1== | ==Part 1== | ||
| Line 17: | Line 19: | ||
[[Rayman (Nintendo DSi)|The DSi port]] uses this variant while ''[[Rayman Advance]]'' drops this part completely, starting Bongo Hills at part 2. | [[Rayman (Nintendo DSi)|The DSi port]] uses this variant while ''[[Rayman Advance]]'' drops this part completely, starting Bongo Hills at part 2. | ||
<gallery widths="800px" heights="185px"> | |||
RaymanPC - Music 01.png|PC version | |||
RaymanPS1US - Music 01.png|PlayStation version | |||
RaymanJaguar - Music 01.png|Atari Jaguar version | |||
</gallery> | |||
{{clear}} | {{clear}} | ||
| Line 26: | Line 31: | ||
At the near end of this part, there is a string of [[Ting]]s which, when collected consecutively, play the French song ''Au Clair de la Lune''. | At the near end of this part, there is a string of [[Ting]]s which, when collected consecutively, play the French song ''Au Clair de la Lune''. | ||
< | <gallery widths="320px" heights="171px"> | ||
RaymanPC - Music 02.png|PC version | |||
RaymanPS1US - Music 02.png|PlayStation version | |||
RaymanJaguar - Music 02.png|Atari Jaguar version | |||
RaymanAdvanceGBAUS - Music 02.png|Game Boy Advance version | |||
RaymanDSi - Music 02.png|Nintendo DSi version | |||
</gallery> | |||
{{clear}} | {{clear}} | ||
| Line 37: | Line 47: | ||
[[Rayman]] will mainly use [[maracas rocket]]s to ascend this area. There are many [[spiky ball]]s that [[Rayman]] will need to avoid as it can cause the player to lose [[Life|lives]]. | [[Rayman]] will mainly use [[maracas rocket]]s to ascend this area. There are many [[spiky ball]]s that [[Rayman]] will need to avoid as it can cause the player to lose [[Life|lives]]. | ||
<gallery widths="126px" heights="597px"> | |||
RaymanPC - Music 03.png|PC version | |||
RaymanPS1US - Music 03.png|PlayStation version | |||
RaymanDSi - Music 03.png|Nintendo DSi version | |||
</gallery> | |||
{{clear}} | {{clear}} | ||
| Line 45: | Line 59: | ||
One [[cage]] is impossible to get at first, as [[Rayman]] needs the [[helicopter]] power to reach it, which he will acquire in [[Allegro Presto]]. | One [[cage]] is impossible to get at first, as [[Rayman]] needs the [[helicopter]] power to reach it, which he will acquire in [[Allegro Presto]]. | ||
< | <gallery widths="320px" heights="102px"> | ||
RaymanPC - Music 04.png|PC version | |||
RaymanPS1US - Music 04.png|PlayStation version | |||
RaymanAdvanceGBAUS - Music 04.png|Game Boy Advance version | |||
RaymanDSi - Music 04.png|Nintendo DSi version | |||
</gallery> | |||
{{clear}} | {{clear}} | ||
| Line 56: | Line 74: | ||
There are many [[spiky ball]]s that will cause [[Rayman]] to fall from the [[sprinkler]] and into the [[wrong note]]s. There are two secret areas in this level, but one is much harder than the other. | There are many [[spiky ball]]s that will cause [[Rayman]] to fall from the [[sprinkler]] and into the [[wrong note]]s. There are two secret areas in this level, but one is much harder than the other. | ||
<gallery widths="320px" heights="108px"> | |||
RaymanPC - Music 05.png|PC version | |||
RaymanPS1US - Music 05.png|PlayStation version | |||
RaymanJaguar - Music 05.png|Atari Jaguar version | |||
RaymanDSi - Music 05.png|Nintendo DSi version | |||
</gallery> | |||
{{clear}} | {{clear}} | ||
| Line 66: | Line 87: | ||
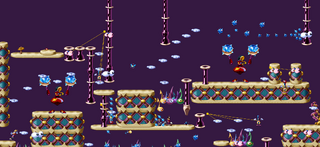
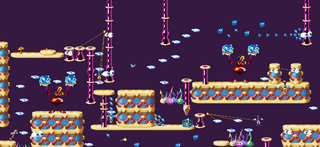
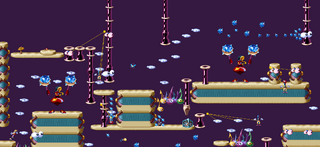
This is the only level along with the PlayStation version of [[Moskito's Nest]] in part 4 and [[Eat at Joe's]] in part 4 to not have any [[cage]]s and not involve a boss, although due to the fact that part 1 has been cut in ''[[Rayman Advance]]'', it places the missing [[cage]] here next to where in most versions an extra [[life]] would be found. While [[Rayman (Nintendo DSi)|the DSi version]] does include part 1, it still places the [[cage]] at the same location as in ''[[Rayman Advance]]'' making [[Rayman (Nintendo DSi)|the DSi version]] have a total of 7 [[cage]]s in the level. | This is the only level along with the PlayStation version of [[Moskito's Nest]] in part 4 and [[Eat at Joe's]] in part 4 to not have any [[cage]]s and not involve a boss, although due to the fact that part 1 has been cut in ''[[Rayman Advance]]'', it places the missing [[cage]] here next to where in most versions an extra [[life]] would be found. While [[Rayman (Nintendo DSi)|the DSi version]] does include part 1, it still places the [[cage]] at the same location as in ''[[Rayman Advance]]'' making [[Rayman (Nintendo DSi)|the DSi version]] have a total of 7 [[cage]]s in the level. | ||
< | <gallery widths="320px" heights="147px"> | ||
RaymanPC - Music 06.png|PC version | |||
RaymanPS1US - Music 06.png|PlayStation version | |||
RaymanAdvanceGBAUS - Music 06.png|Game Boy Advance version | |||
RaymanDSi - Music 06.png|Nintendo DSi version | |||
</gallery> | |||
{{clear}} | {{clear}} | ||
Revision as of 10:45, 13 July 2020
| Bongo Hills | ||
|---|---|---|
 | ||
| ← Moskito's Nest | Allegro Presto → | |
Bongo Hills (French: La Butte aux Bongos – The Butte of Bongos) is the first level of Band Land, the second world of the original Rayman game. It is one of the longest levels in the game, containing six parts.
Part 1


In the PlayStation, Sega Saturn and Atari Jaguar versions, this part is a typical Band Land stage, with numerous secret passageways.
In the PC version it is replaced by a totally different one, which is a transition between the Dream Forest and Band Land. It features a unique scenery, with xylophone bridges over a quiet water. As Rayman climbs up, he will find himself in a new world. The DSi port uses this variant while Rayman Advance drops this part completely, starting Bongo Hills at part 2.
-
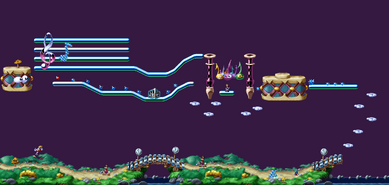 PC version
 -
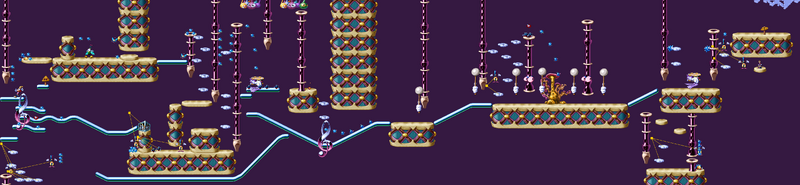 PlayStation version
 -
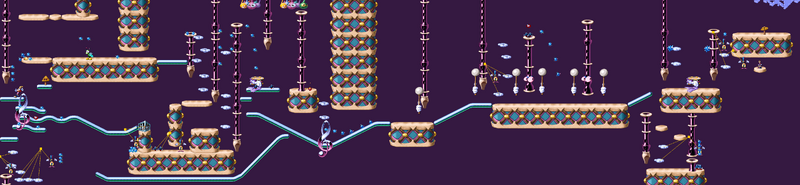 Atari Jaguar version


Part 2
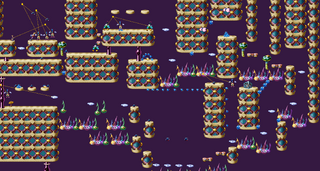
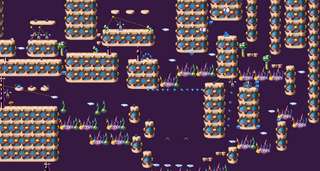
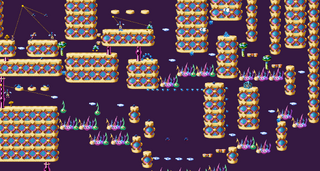
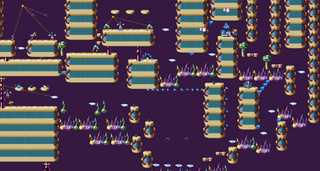
Phase 2 introduces Rayman and the player to flying moths, which are extremely resistant enemies. There are some wrong notes that, if not jumped over properly, will cause the player to lose a life.
At the near end of this part, there is a string of Tings which, when collected consecutively, play the French song Au Clair de la Lune.
-
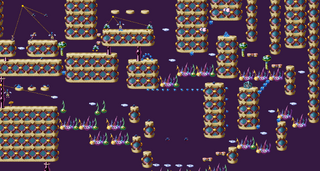 PC version
 -
 PlayStation version
 -
 Atari Jaguar version
 -
 Game Boy Advance version
 -
 Nintendo DSi version


Part 3

Rayman will mainly use maracas rockets to ascend this area. There are many spiky balls that Rayman will need to avoid as it can cause the player to lose lives.
-
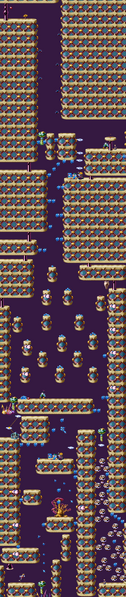 PC version
 -
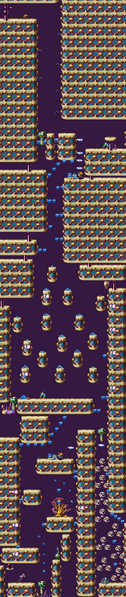 PlayStation version
 -
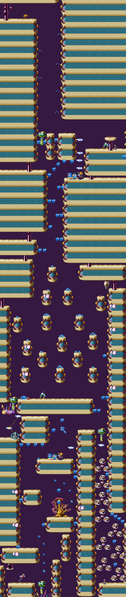 Nintendo DSi version


Part 4

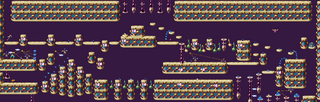
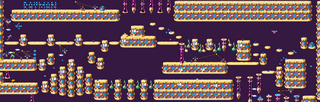
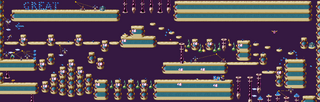
One cage is impossible to get at first, as Rayman needs the helicopter power to reach it, which he will acquire in Allegro Presto.
-
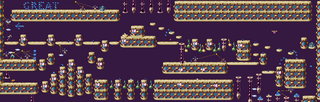 PC version
 -
 PlayStation version
 -
 Game Boy Advance version
 -
 Nintendo DSi version


Part 5

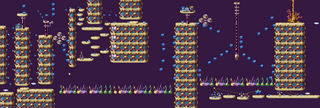
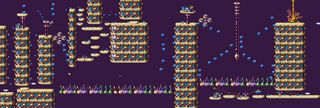
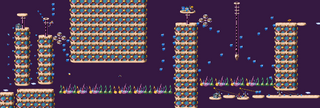
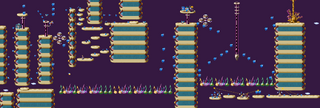
There are many spiky balls that will cause Rayman to fall from the sprinkler and into the wrong notes. There are two secret areas in this level, but one is much harder than the other.
-
 PC version
 -
 PlayStation version
 -
 Atari Jaguar version
 -
 Nintendo DSi version


Part 6

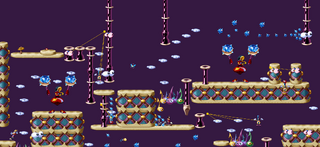
This is the only level along with the PlayStation version of Moskito's Nest in part 4 and Eat at Joe's in part 4 to not have any cages and not involve a boss, although due to the fact that part 1 has been cut in Rayman Advance, it places the missing cage here next to where in most versions an extra life would be found. While the DSi version does include part 1, it still places the cage at the same location as in Rayman Advance making the DSi version have a total of 7 cages in the level.
-
 PC version
 -
 PlayStation version
 -
 Game Boy Advance version
 -
 Nintendo DSi version


The seventh cage glitch
Due to the Nintendo DSi version of the game having a cage at the first and final phase it makes it the only version to have a total of 7 cages in Bongo Hills. This was likely not intended by the developers as the level still displays the total amount of cages as 6, like any other level. The only way to break all 7 cages is if the player plays through the level first, breaking all cages but the two in part 4. Then when the player replays the level and reaches part 4, both cages will be loaded in the game. Breaking the seventh cage will simply result in the cage breaking normally without the medallion appearing. The reason this is the only way of breaking the seventh cage is because the game only checks for any non-broken cages when a new part of the level is loaded and only if the player has less than 6 cages broken in that level.[1]
External links
Atari Jaguar
Sony PlayStation
PC/MS-DOS
- Haruka's playthrough on YouTube, first visit (part 1)
- Haruka's playthrough on YouTube, first visit (part 2)
- Haruka's playthrough on YouTube, second visit
Game Boy Advance
References
- ↑ The seventh cage glitch showcase on YouTube, https://youtu.be/q3MVTsHAxBg