The Land of the Livid Dead (Rayman 3)
 | |
| ← |
|
| Maximum score: | |
- This article is about the level in Rayman 3. For the level in Rayman: Hoodlums' Revenge, see Land of the Livid Dead (Rayman: Hoodlums' Revenge). For the level in the UbiArt Rayman games, see Land of the Livid Dead (UbiArt games).
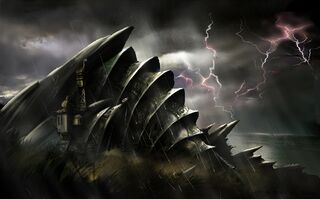
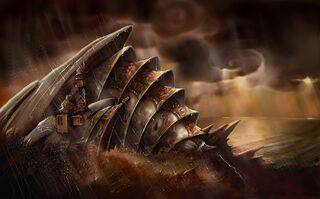
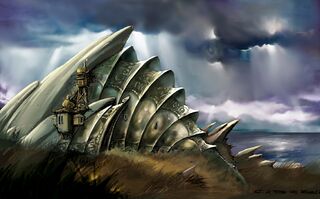
Scarred by cruel winds and crushing storms, this bitter wasteland doesn’t take kindly to visitors, especially adventuring types like Rayman. More than one tale has been whispered about a phantom race of creatures imprisoned within this haunted Moor.
The Land of the Livid Dead, also known as the Moor of Mad Spirits, is the fourth level in Rayman 3, following the Bog of Murk and preceding the Desert of the Knaaren.
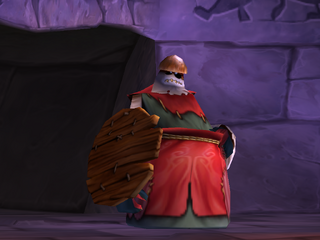
Rayman must go to the Land to take Globox to the second Teensie doctor, Roméo Patti. The office is accessed through an underwater tunnel guarded by Céloche, a giant robot. Roméo Patti being unable to help Globox, he forwards him to Art Rytus, in the Desert of the Knaaren.
Description
The idyllic but bleak landscape is reminiscent of a Celtic ruin, and the rocky hills are filled with ancient stone monoliths, small passages and sunken structures. The climate appears to be very mild and cloudy, though it rains in the later sections. This land is beside either a sea or ocean. The stone walls are covered with engravings made by the Griskin Teensies a long time ago, before they were turned to ghosts by the Great Spirit Palmito.
As a level
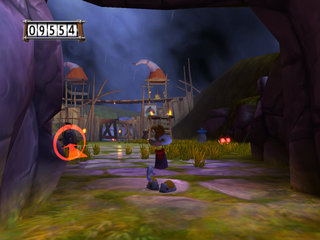
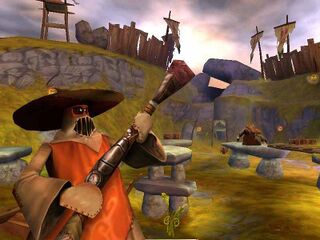
Stage 1 – Hazardous Land
As they make their way out of the transportation, Rayman and Globox enter to what seems like a calm and peaceful place. As Globox gets distracted from a group of birds, Rayman frees the first Griskin, who gives him the Vortex. This is required to destroy some spiky enemies that would stop Globox from following him. As they continue, Rayman needs to use a Shock Rocket can of Laser-Washing Powder to save a couple of Griskins, one will give the Throttle Copter, which is needed to reach the plum that needs to be placed on a post. After completion, an ambush of Hoodlums attempt to attack Rayman. As he destroys them, and enters a tunnel, Globox drinks a plum juice barrel, needed to advance to where Rayman goes face-to-face with his first ever Hoodstormer. Destroying it gives the Vortex, then Rayman has to destroy more Hoodmongers and save another Griskin who drops a Crazy Shoe. Bumping the shoe enough times will give the Heavy Metal Fist, using it will give Rayman the chance to destroy the barricade that is blocking the exit.
The score thresholds for this stage are 4150 points for 25% (2 stars), 8300 points for 50% (3 stars), 12450 points for 75% (4 stars) and 16600 points for 100% (5 stars).
Secret area
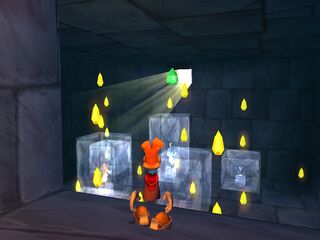
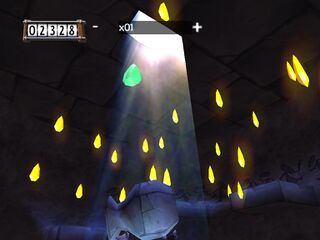
Globox drinks a barrel full of plum juice before the fight with the Hoodmonger Soldiers and the Hoodstormer. By ascending the bubble he belches, Rayman can discover a room in a wall with Teensies frozen in ice, filled with many yellow gems and a green gem. Using the Vortex while collecting at least nine yellow gems before collecting the green gem can get a combo score as much as over 9,000 points.
-
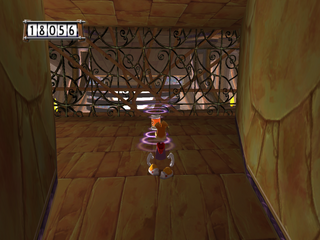
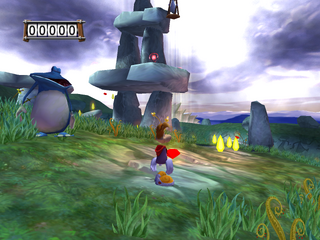 The first stage.
 -
 A Slapdash.
 -
 This entrance leads to the secret area.
 -
 The secret area.
 -
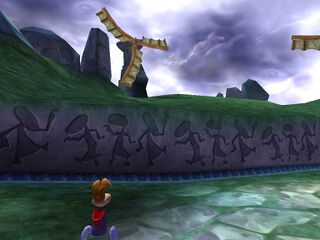 Engravings representing Teensies.
 -
 Rayman chasing his Crazy Shoe.
 -
 The end of this section.


Stage 2 – Hoodlum's Fortress
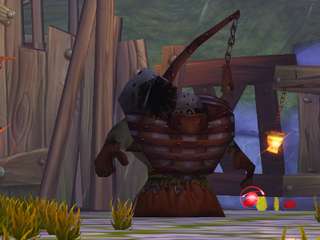
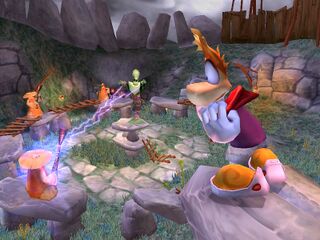
Immediately as Rayman and Globox drop down to the next stage, there is a Hoodmonger Soldier, which scares Globox and makes the Soldier run to a Hoodlum fortress, containing an abundance of other Hoodmonger Soldiers and Hoodstormers. Once they have been defeated, Rayman can advance to the higher level with use of the Lockjaw and Vortex, the latter being given from a Griskin. As the duo swim and climb to the higher level, there is a Hoodboom, but before Rayman can get to shooting range, he jumps onto a Zeppelin, and gets away. Rayman destroys the two Hoodmongers blocking the pathway leading up to where he comes across the first Grim Keeper. Rayman is able to finish him off by shooting lateral shots where his shield isn't blocking himself. Globox helps Rayman get to the next area by bursting out a bubble from drinking another plum juice barrel. This outside area are contains the first Hoodoo, that protects two Hoodmongers. Rayman must shoot one of the Hoodmongers to where the Hoodoo is vulnerable to attack. Once that is finished, a swarm of Hoodmonger Soldiers appear, but Rayman is able to destroy them, one gives the Shock Rocket. Upon grabbing it, the Hoodboom that was (and still is) on the Zeppelin reappears. Rayman shoots him with the rocket. Finally, Rayman destroys a Hoodmonger that has the Throttle Copter, and flies upwards to exit the level.
The score thresholds for this stage are 2750 points for 25% (2 stars), 5500 points for 50% (3 stars), 8250 points for 75% (4 stars) and 11000 points for 100% (5 stars).
Secret area
Once Rayman has killed the Grim Keeper, Globox will help him get up to the higher level by belching a bubble. To the right of where Rayman is supposed to go is a secret room containing several Throttle Copters, yellow gems, and a green gem.
-
 The second stage.
 -
 The first Grim Keeper.
 -
 This entrance leads to the secret area.
 -
 The secret area.
 -
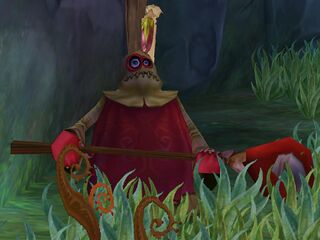
 The first Hoodoo protects two Hoodmongers.
 -
 A Hoodboom in a Hoodlum Airship.


.jpg)
Stage 3 – The Tower of the Light
Rayman is confronted by a gate that a Hoodmonger closes with a switch. Rayman will need to find a way to reverse the switch. With Globox, he enters into a tunnel that leads to a ghastly tower. After destroying a Hoodstormer, the two enter the tower. Rayman activates a hand switch that makes some pillars rise. Rayman jumps to the lowest level of stairs from the help of the sinking pillars. When he gets to the top, he saves a Griskin that will meet Rayman downstairs. As Rayman and the Griskin meet back at the bottom, he gives a Vortex, stating that one of his brothers have been kidnapped. If freed, they will open up their world to Rayman. Rayman leaves the tower area with the Vortex and drops down to use it on three meadowscrews in order to place a plum on a post. A Hoodstormer attempts to stand in the way, but he gets defeated, and Rayman places the plum on the post, and frees the brother. He flies to the large stone entrance at the tower, and uses his power to allow Rayman to enter the portal. Meanwhile, Globox gets intoxicated from plum juice and bursts out many bubbles to help Rayman get back up to enter the portal.
Upon entering and defeating Hoodmongers and a Hoodmonger Officer, Rayman retrieves the Heavy Metal Fist to advance. As Rayman continues closer to the captured Griskins, he defeats a Hoodoo and a couple of Hoodmongers. After using the Shock Rocket and Throttle Copter to get to the top of the room, a Hoodboom blocks the wooden door. Rayman defeats the Hoodoo and the Hoodboom and uses the Heavy Metal Fist to free the Griskins from Palmito's spell, to get the gate to open. But before Rayman can get back to the starting point, he will have to find and defeat the Crazy Shoe. Once done, Rayman leaves the tower and returns to the starting area. However, the first Heckler approaches from the gate. Once it is defeated, it drops a Shock Rocket which Rayman must use to hit the switch and proceed to Roméo Patti's office.
The score thresholds for this stage are 3250 points for 25% (2 stars), 6500 points for 50% (3 stars), 9750 points for 75% (4 stars) and 13000 points for 100% (5 stars).
-
 The third stage.
 -
 Griskin's tower.
 -
 The portal leading to the alternative version of the tower.
 -
 The first Hoodmonger Officer.
 -
 A Griskin attacking a Hoodmonger.
 -
 The first Heckler.


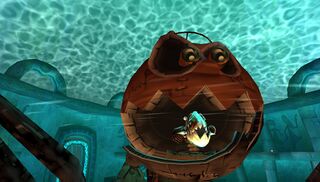
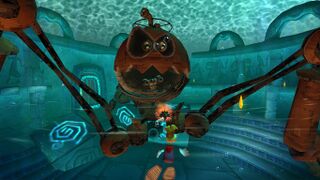
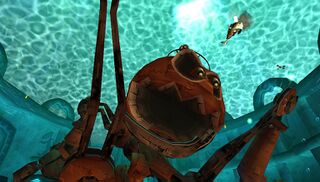
Stage 4 – Céloche
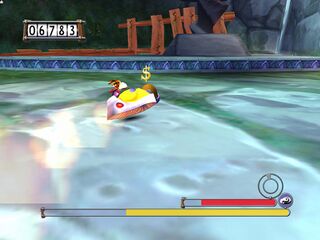
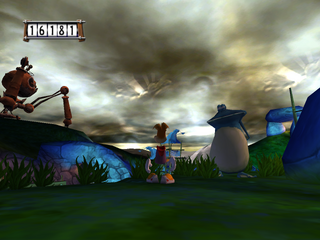
Globox drinks a barrel full of plum juice and flies away while Rayman goes underwater, using his helicopter hair to move. This shows an improvement of Rayman's swimming skills, because in Rayman 2, he was unable to swim without using air bubbles, and in the original Rayman, he was unable to swim at all. After swimming for a while, he finds and must destroy the Hoodlum-controlled war tripod, Céloche. Once defeated, Rayman continues on and finds the entrance of Roméo Patti's office, along with a non-intoxicated Globox.
The score thresholds for this stage are 558 points for 25% (2 stars), 1115 points for 50% (3 stars), 1673 points for 75% (4 stars) and 2230 points for 100% (5 stars).
-
 The fourth stage.
 -
-
-
 Céloche collaps after his defeat.
 -
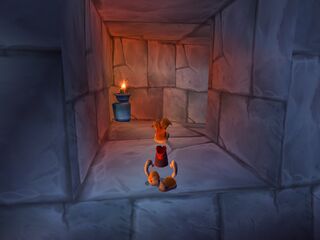
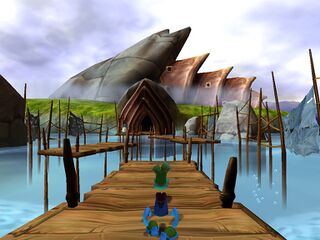 Roméo Patti's office.


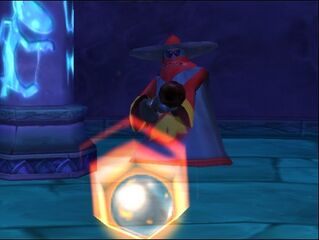
Stage 5 – Roméo's office
Rayman and Globox enter the office of Roméo Patti but a gate is blocking the way. Using a nearby Shock Rocket power-up, Rayman must shoot each Hoodmonger as some run around, and some stay still. After all of them are defeated, the gate opens and the duo proceeds to the doctor himself. But, Globox refuses to visit the doctor, but at the beginning of the stage, a Hoodmonger emerges and attempts to shoot Globox. He gets scared and quickly enters the office. Like Otto, Roméo fails to extract André so he sends Globox to the Desert of the Knaaren to meet up with Art Rytus, the last Teensie doctor.
The score thresholds for this stage are 2988 points for 25% (2 stars), 5975 points for 50% (3 stars), 8963 points for 75% (4 stars) and 11950 points for 100% (5 stars).
Secret area
If Rayman looks up, he can see two holes in the ceiling. In the holes are switches; hitting both of these with the Shock Rocket opens up a section of the wall containing several red gems and two green gems. Using the Shock Rocket power-up while collecting these gems will greatly improve the score.
-
 The fifth stage.
 -
 Two switches must to be activated to open the secret area.
 -
 The secret area.


Stage 6 – The third Teensie Highway
This is the third and final Teensie Highway. It leads up to the entrance of the Desert of the Knaaren.
The score thresholds for this stage are 4000 points for 25% (2 stars), 8000 points for 50% (3 stars), 12000 points for 75% (4 stars) and 16000 points for 100% (5 stars).
-
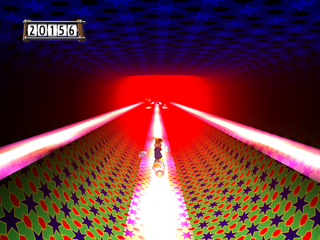 The sixth and final stage

Images from the early production of Rayman 3
-
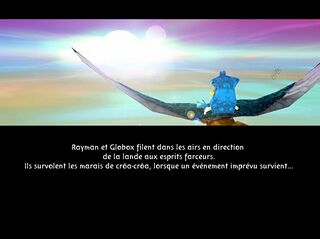 This cutscene from the beta shows a previous name of the Land of the Livid Dead.
 -
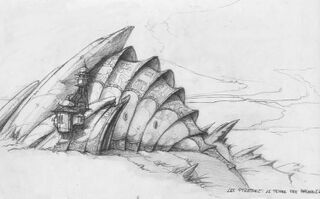 Concept art of the Badlands temple (Roméo's office).
 -
 Concept art of the Badlands temple (Roméo's office).
 -
 Concept art of the Badlands temple (Roméo's office).
 -
 Concept art of the Badlands temple (Roméo's office).
 -
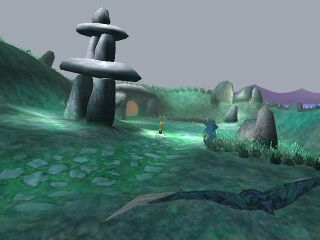 Monoliths of the first section.
 -
 The cascade of the first section.
 -
 The Hoodmongers at the end of the second section.
 -
 The first Hoodoo.


Trivia
- The building containing Roméo Patti's office can be seen when standing on a high point; it can be seen three times.
- The Griskins are the only species of Teensie in Rayman 3 that have their own sub-plot; in this case it is the ghostly tower in part 3.
- Like the other identically named locations, its name is a pun on the 1968 horror film Night of the Living Dead.
Soundtracks
- "The Land of the Livid Dead"
- "Carrying the Plum ~Obstacle Course~"
- "Carrying the Plum ~Hurry!~"
- "The Hoodstormer"
- "Shoe Kart"
- "Shoe Kart (Bass & Perc)"
- "The Hoodmonger Soldier"
- "A Mystic Melody ~Highlands~"
- "The Grim Keeper"
- "The Hoodoo"
- "The Hoodoo Sorceror"
- "Mystic Melody ~Ascension~"
- "Mystic Melody ~Staircase to the Top~"
- "Whispers from Beyond the Gate"
- "The Spirit Tower"
- "The Spirit Tower ~Stirring~"
- " The Spirit Tower ~The Spell is Broken~"
- "The Mad Spirits Awakened"
- "The Heckler"
- "The Calm of the Lake"
- "Céloche ~Underwater Mechanical Tripod~"
Saves
This section lists saves for the PC version of the game. Instructions on how to implement them can be found here.
External links
References
- ↑ Feral Interactive, Rayman 3 for Mac, http://www.feralinteractive.com/?game=rayman3&subsection=worlds
