Polar Pursuit
| Polar Pursuit | |||||
|---|---|---|---|---|---|
 | |||||
| ← Shooting Me Softly | Dashing Thru the Snow → | ||||
Polar Pursuit is the first level of Gourmand Land, the third world in Rayman Origins. In this first level of the world, the heroes slide on slippery icy platforms while avoiding red water infested with baby piranhas. They also meet the third nymph, Edith Up. The PlayStation Vita version of Rayman Origins features a Ghost Mode of this level. It is not included in the Back to Origins painting in Rayman Legends.
Area 1
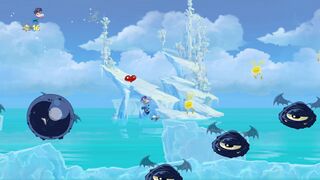
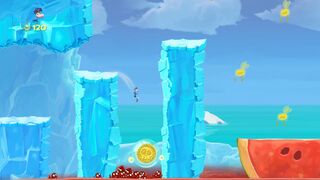
The heroes start by sliding on curvy icy platforms. Some collapse into the safe water. As they proceed, they need to swim in a long body of water, with eleven Psychlops flying towards them. If the heroes manage to bounce on all eleven without falling into the water, they will unlock the Boing! Boing! Boing! trophy/achievement. The first Skull Coin can be collected by bouncing on the eighth Psychlops and gliding towards the former. Eventually, the heroes approach a blue Al Tranquilo. It will spit out a geyser of green liquid if the heroes stand on its belly, which they can use to reach the exit.
-
-
 A blue Al Tranquilo.
 -
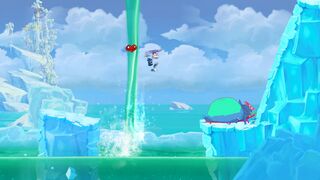
 The Al Tranquilo spitting out green liquid, which the heroes can use as a geyser.


Area 2
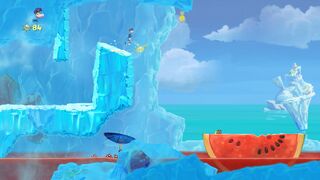
The heroes proceed, sliding on more icy platforms. Eventually, they come across some red bodies of water that contain hungry baby piranhas. It can be very difficult to escape the baby piranhas if the heroes fall into the water. They need to avoid the red water by using creatures, including forks with lemons attached. Afterwards, the heroes can reach the exit by quickly moving on icy platforms, which will crush them if they stand still for too long. The second Skull Coin of the level can be found directly above the exit. The heroes can perform a wall jump to reach it.
-
 Spiky olives must be avoided.
 -
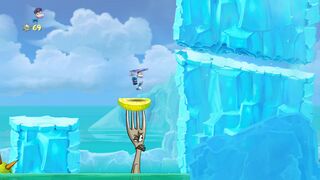 The lemon slice attached to the tips of a fork can be used as a platform.
 -
 Baby piranhas are found in the red water.


Relic 1

The first relic can be found in this area, camouflaged inside a lime in the background.
Relic 2

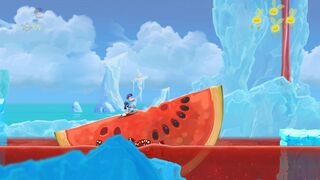
The second relic can also be found in this area. It is hidden inside a watermelon.
Area 3
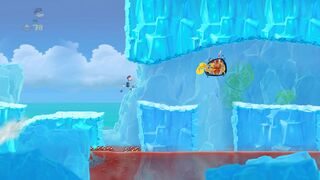
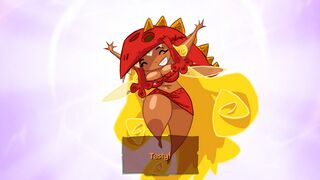
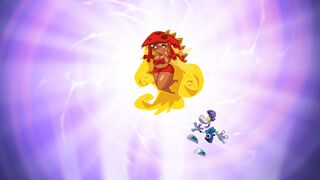
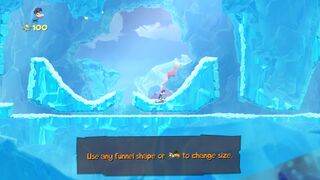
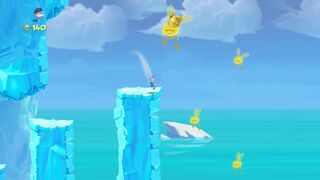
Upon entry, the heroes encounter the third nymph, Edith Up. Just like the previous two, she is held captive by a Darktoon. Once the Darktoon spots the heroes, it will run away, meaning they will need to chase it through the icy area. They will need to avoid more bodies of red water infested with baby piranhas by jumping off sinking icebergs. The third Skull Coin can be obtained by taking a higher path in the area. The fourth Skull Coin can be found close to a Lum King at a lower platform near the red water. Eventually, the heroes can defeat the Darktoon and free Edith Up, gaining the power to change size using funnels. The fifth Skull Coin can be found hiding behind a foreground iceberg. The heroes can now use their new power to reach the exit.
-

-
-
 A watermelon floating atop a body of red water
 -
-
-


Relic 3

The third relic can be found in this area, hidden inside an iceberg in the foreground. Players must collect this one quickly, as the heroes are currently in pursuit of a Darktoon to rescue Edith Up.
Area 4
As the heroes enter, an Electoon cries for help. The first secret area can be found by performing a wall jump to reach the icy platform above. Once the Electoons have been saved, the heroes can proceed, using funnels to get through tight spaces. The sixth Skull Coin can be collected by coming into contact with a Palmito. The coin will be released in a bubble and will move slowly towards the baby piranha-infested red water, so the heroes need to be quick to collect it. They can use a funnel to morph back to their normal size and proceed to the exit.
-
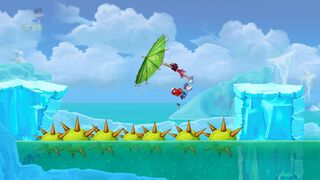
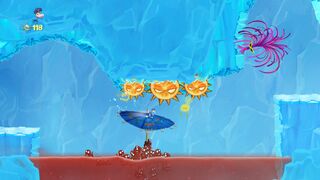 The umbrella will safely take the heroes across the dangerous body of water.
 -
 The sixth Skull Coin of the level.
 -
 A Lum King.


Secret area 1

The heroes need to defeat five Psychlops around the Electoon cage, using limes to reach the higher platforms. Once the five are defeated, the cage can be broken.
Area 5

The heroes shrink again with the use of another funnel. The seventh and difficult-to-get Skull Coin is located between several spiky oranges. The heroes will need to perform a wall jump and carefully use the glide power to get the coin while avoiding the spiky oranges. The second secret area can be found by dropping down a few platforms while avoiding spiky oranges along the way. Afterwards, the heroes can climb back up and advance to the exit, which can be found nearby.
Secret area 2

The heroes morph back to their normal size upon entry. They must defeat the Psychlops, which are bouncing on lemons attached to forks. Once all have been defeated, the cage can be broken.
Area 6

All the heroes need to do is defeat the Psychlops hovering around the Electoon cage. Once they have been defeated, the cage can be broken, ending the level. The heroes pose on the photoboard as the Magician counts the total amount of Lums collected throughout the level.
Trivia
- During early development, this level was called "Frosty Delight".
Names in other languages
| Language | Name |
|---|---|
| English | Polar Pursuit |
| Czech | Polární hon |
| Dutch | Fris fruit |
| French | Palais des glaces |
| German | Kühle Köstlichkeit |
| Hungarian | Sarki üldözés |
| Italian | Delizia ghiacciata |
| Japanese | どこまでも おいかけろ |
| Polish | Polarny pościg |
| Portuguese | Delícia gelada |
| Russian | Погоня во льдах |
| Spanish | Delicias heladas |
External links
- Polar Pursuit playthrough at YouTube (PC version) (Normal walkthrough + Lums Medal)
- Polar Pursuit playthrough at YouTube (PC version) (Speed Trophy)